Extraction Bench: Lesson 1
![]()
Using a non-polar solute to extract a solute from water
In this tutorial, I am going to walk you through how our extraction environment works and hopefully give some insight into how an RL agent might interact with the environment. In this extraction we are going to be using water to extract sodium and chlorine from oil. We are going to be using this jupyter notebook in order to interact with the environment.
import gymnasium as gym
import chemistrylab
import matplotlib,time
import numpy as np
from matplotlib import pyplot as plt
from chemistrylab.util import Visualization
from IPython.display import display,clear_output

Visualization.use_mpl_light(size=2)
So start by running the code cell below you should see a series of graphs like these appear:
env = gym.make('WaterOilExtract-v0')
env.reset()
rgb = env.render()
plt.imshow(rgb)
plt.axis("off")
plt.show()
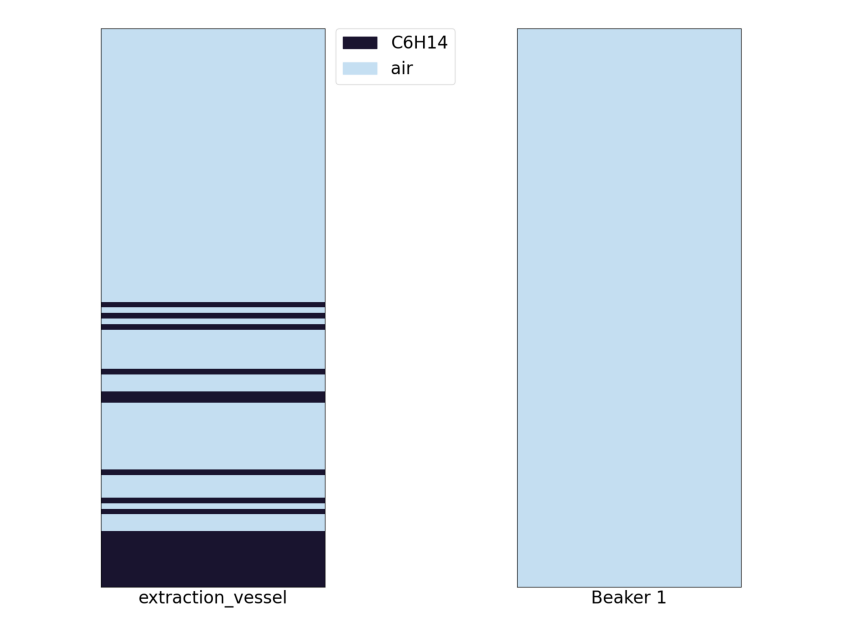
These graphs show the contents of each of our containers and the level of separation between the materials. The graphs to the right then show the layers of materials forming in the container.
When we start the environment we will see that we have a container filled with oil, Na and Cl. Using a polar solvent we can get the sodium and chlorine to diffuse from the oil into that solvent, in this case we can use water as our polar solvent!
Step 1: Pour Water into the extraction vessel
Action 33 H2O Vessel: pour by volume ([0.4]) -> extraction_vessel
We can then see that storage vessel is now filled with the oil poured from the condensation vessel.
env.reset()
total_reward = 0
#Pour in water
obs,rew,d,*_ = env.step(33)
total_reward += rew
obs,rew,d,*_ = env.step(39)
total_reward += rew
obs,rew,d,*_ = env.step(39)
total_reward += rew
rgb = env.render()
plt.imshow(rgb)
plt.axis("off")
plt.show()

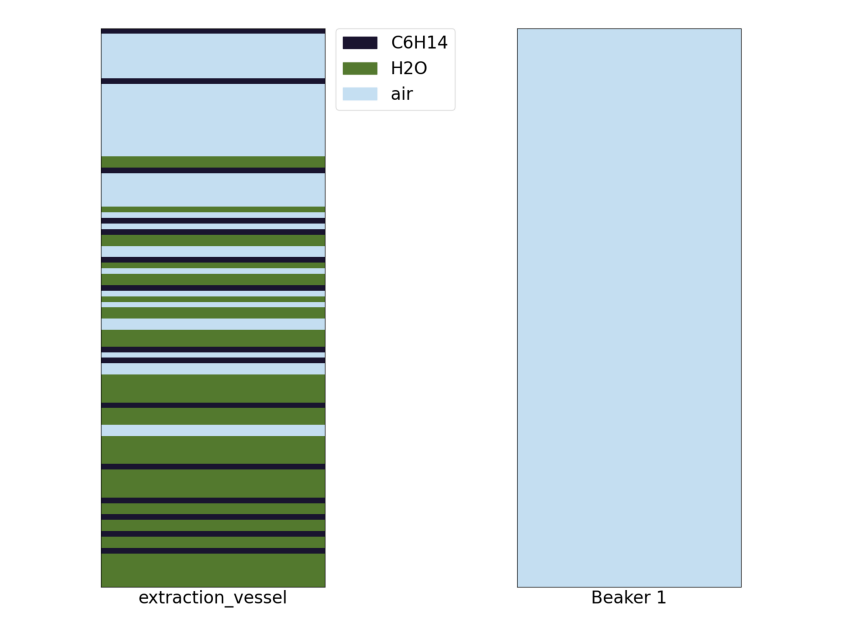
Step 2: Mix the extraction vessel
Action 9 extraction_vessel: mix ([-1.]) -> None
Now that we’ve added the water we need to mix the vessel to get the solutes to transfer into the oil, so let’s mix the vessel! As seen in the graph below we can see that based on the layer representation that we have mixed the oil and the water.

obs,rew,d,*_ = env.step(9)
total_reward += rew
rgb = env.render()
plt.imshow(rgb)
plt.axis("off")
plt.show()
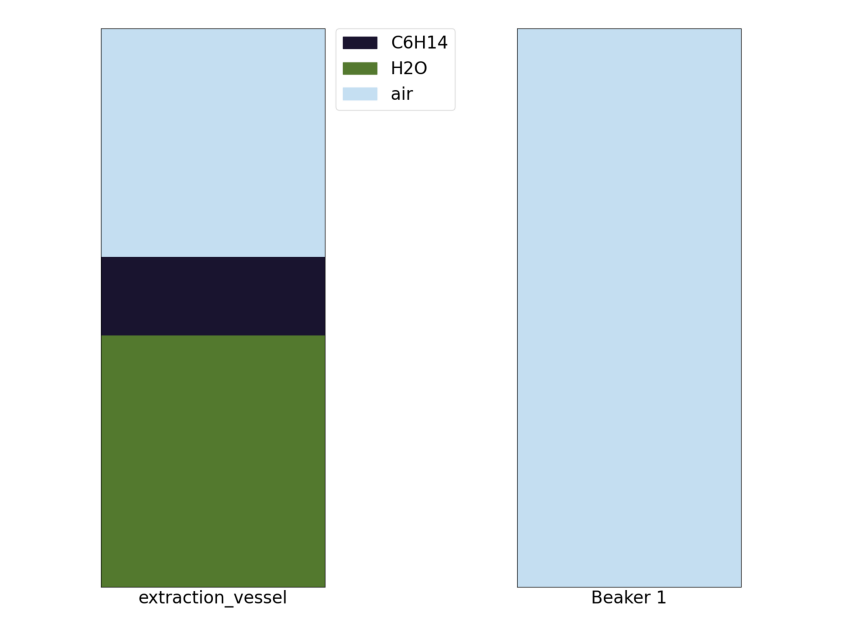
Step 3: Wait for the layers to separate
Action 39 extraction_vessel: mix ([0.16]) -> None
Now that we have done some mixing we need to wait for the oil to settle to the top of the water so we can drain the water. Keep repeating the following command until the graph settles.

obs,rew,d,*_ = env.step(39)
total_reward += rew
obs,rew,d,*_ = env.step(39)
total_reward += rew
rgb = env.render()
plt.imshow(rgb)
plt.axis("off")
plt.show()
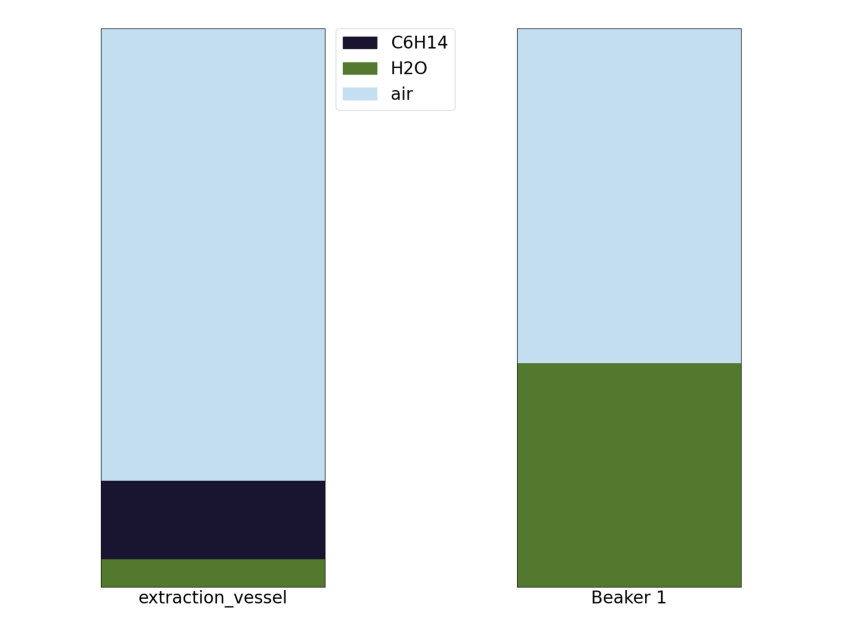
Step 4: Pouring out the Saltwater
Action 4 extraction_vessel: drain by pixel ([10]) -> Beaker 1:
Now that the water and oil have settled we want to drain out our water into beaker 1 so that we can pour out our oil out as waste.

#Pouring
for i in range(4):
    obs,rew,d,*_=env.step(4)
    total_reward += rew

rgb = env.render()
plt.imshow(rgb)
plt.axis("off")
plt.show()
Step 5: Pouring the oil into the waste vessel
Action 24 extraction_vessel: pour by volume ([1.]) -> Waste Vessel
Now we just have to empty out the extraction vessel into the waste vessel to get rid of the oil and we are done
obs,rew,d,*_= env.step(24)
total_reward += rew
rgb = env.render()
plt.imshow(rgb)
plt.axis("off")
plt.show()
Ending the Experiment
obs,rew,d,*_ = env.step(40)
total_reward += rew
print(total_reward,d)
0.8213018800367559 True
I hope this tutorial helped with your understanding of how an agent might interact with the extraction environment!